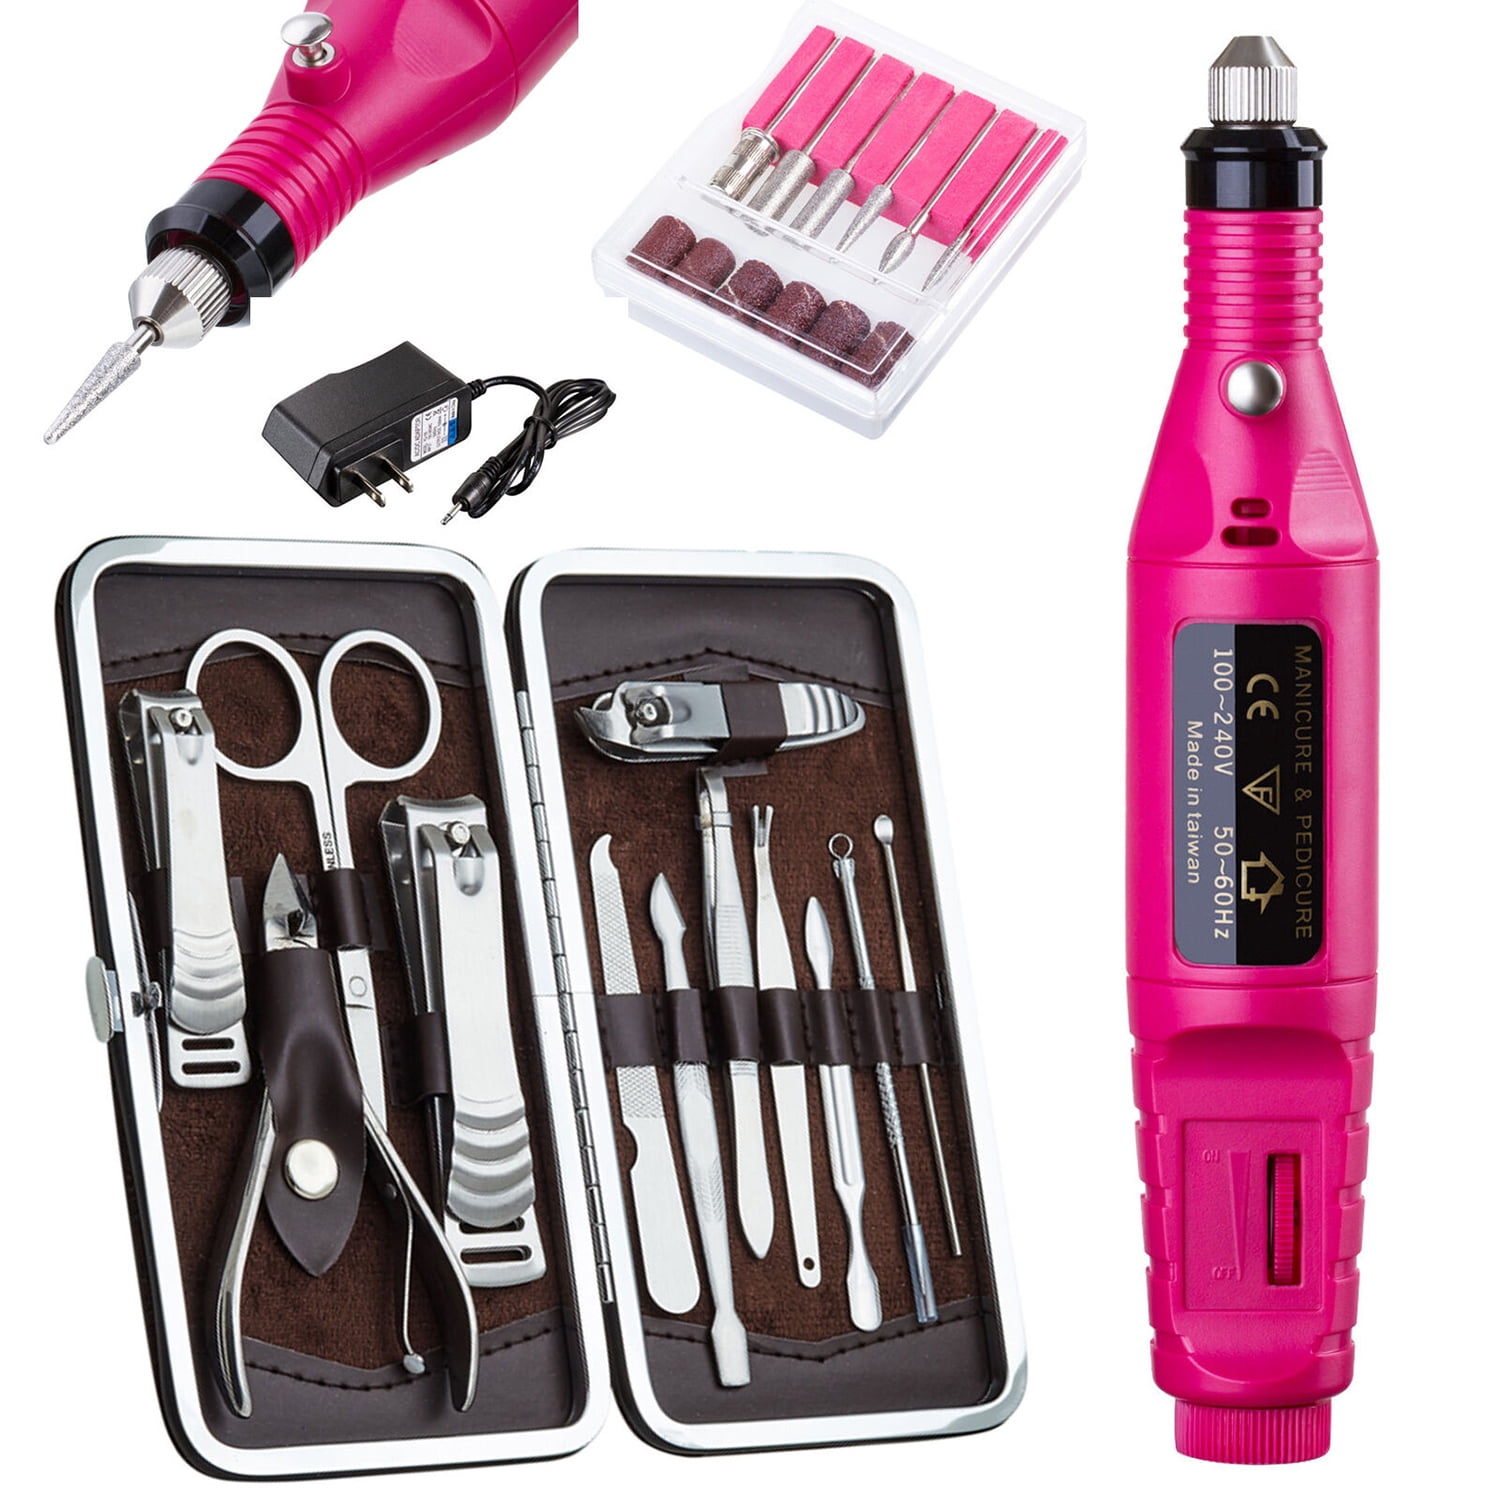
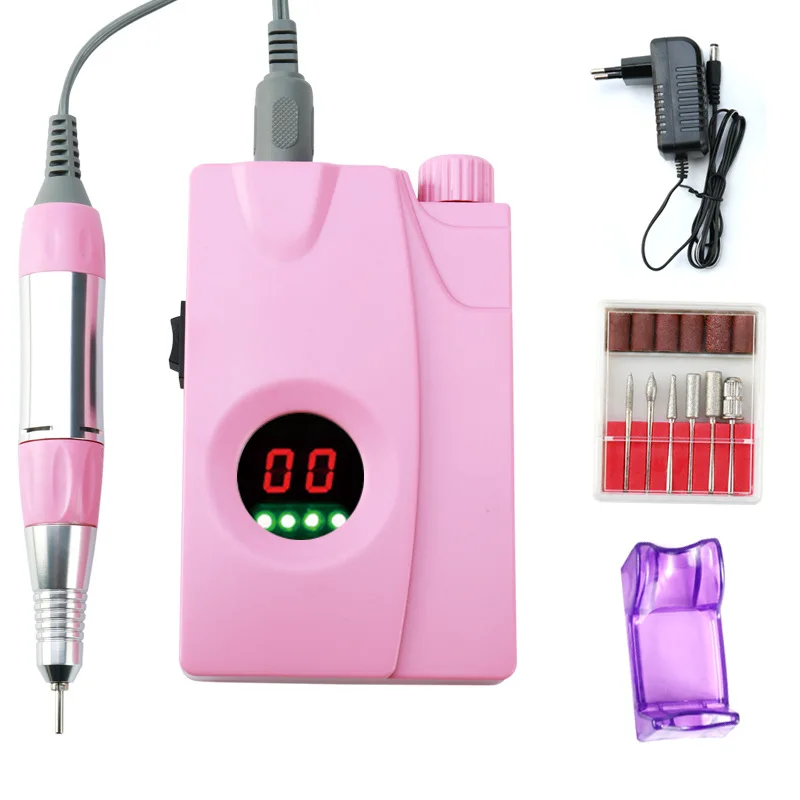
nail acrylic kit with drill
nail acrylic kit with drill bits and 1/4 inch by 1/8 inch hex nuts. The drill bit is 1/9 inch long and 1/2 inch wide, which can be drilled through the base of the board or through one of two locations. The drill bit can also be used for two-point anchors. The hole in the drill bit on one side of the base of the PCB is for drill tips as well as for power supplies. (This is why this guide assumes you have a solder-free connection.)
These are important parts, as a first-layer of assembly can be very difficult. I tried to provide some preliminary instructions as they appeared on the project page. If you are not familiar with solder and will not be using a soldering iron, these parts will be a good starting point.
The following links give a good start of the construction process.
The first step in the first assembly is to assemble the board through a solder-free cable (soldered to an RCA jack on one side.). Two cables are needed to make the base of the PCB. It is necessary to separate the two cable ends to avoid damaging the cable, and the wires are attached to the cable connector with a flat base screw. In case of the RCA, it is also necessary to separate the wires, because the base should be completely insulated because of the heat produced during construction. Then, the PCB must be assembled using an RCA cable to prevent


Drill Bits for Acrylic NailsAcrylic Nails Salon Burs DrillAcrylic Nail Kit with Lamp and DrillForward Reverse USB Switch for Acrylic Nail Drill


Comments
Post a Comment