diy homemade acrylic nails
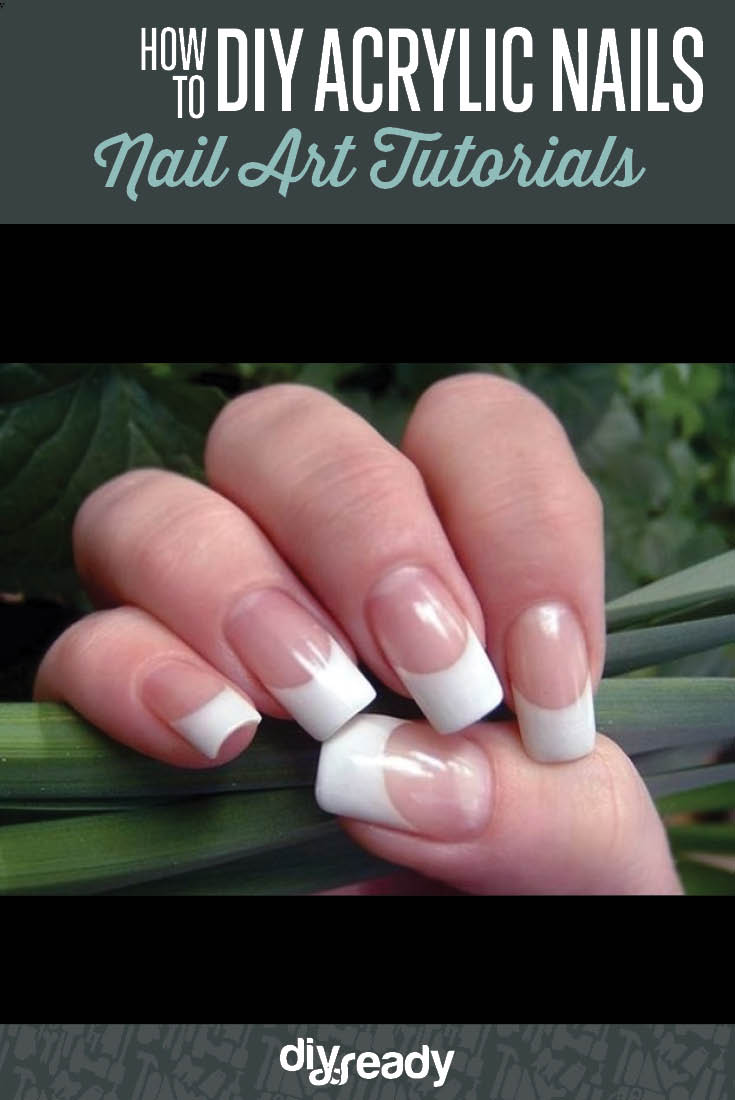
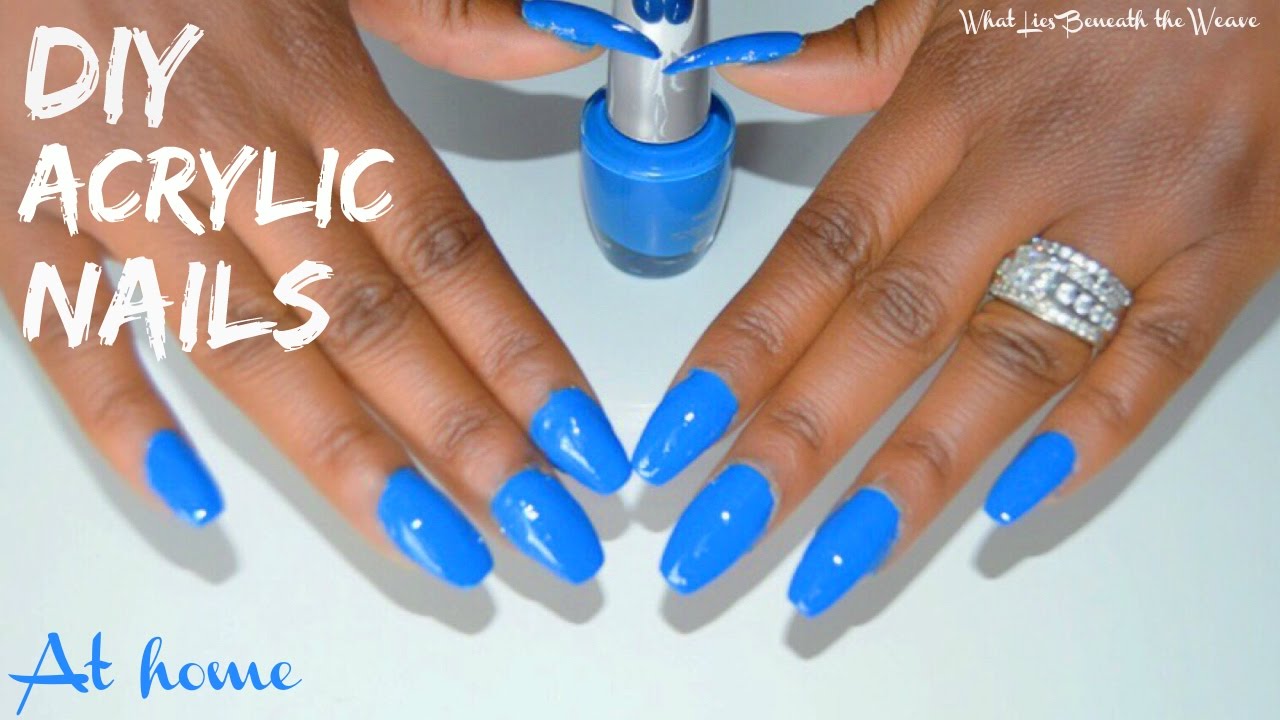
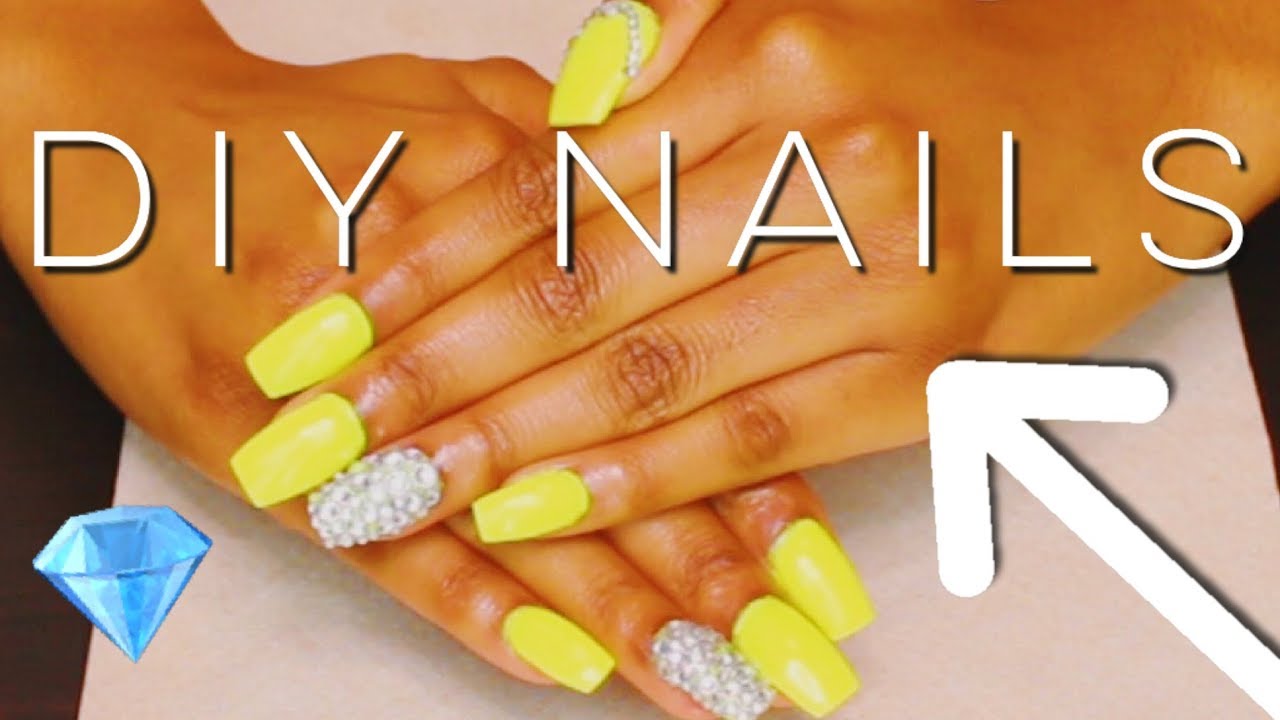
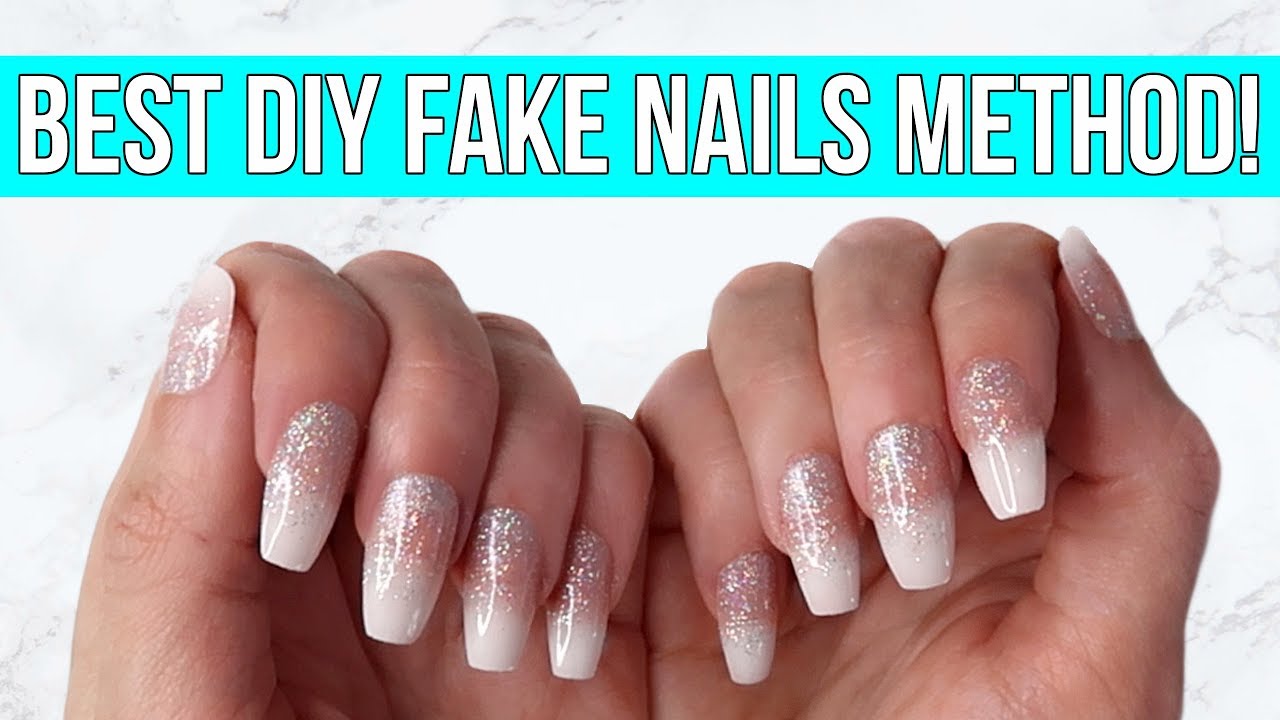
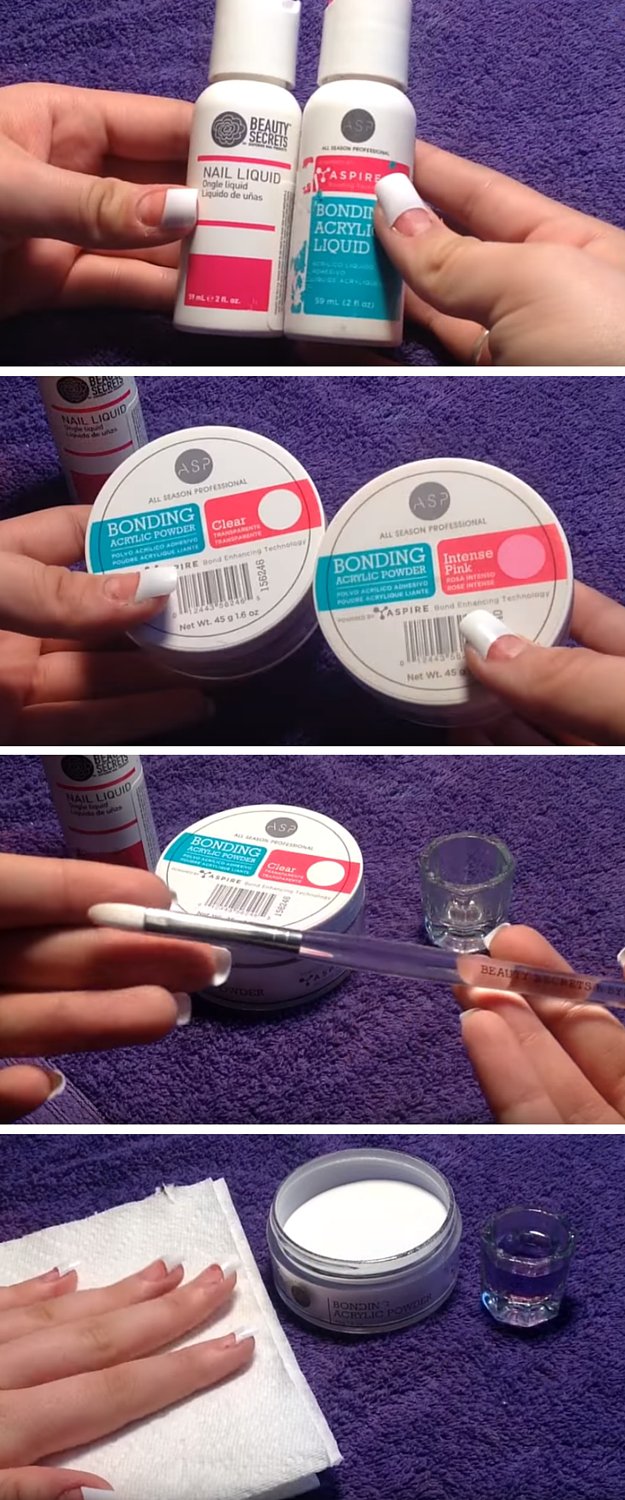
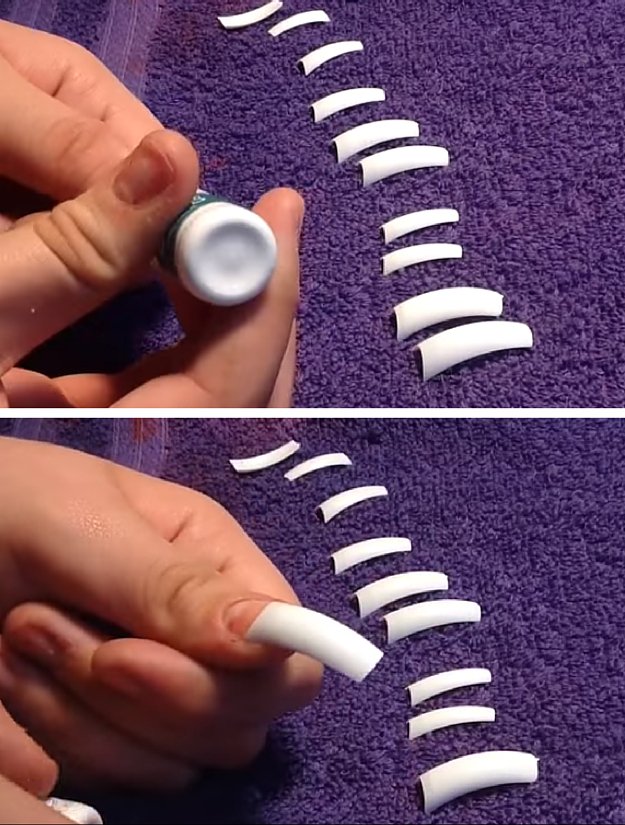
Apr 05, 2016 · This has to be one of my favorite DIY's because it reminds me of when I first became obsessed with long nails. I started getting acrylics when I was 13 but ...Jul 22, 2019 · How to Do DIY Acrylic Nails Step 1. Clean and Buff. Before doing your own acrylic nails, never forget to clean your nails thoroughly first, then... Step 2. How to Apply Nail Tips at Home. Next, choose a nail tip which fits your nail and your style preference. Here we... Step 3. Glue the Nail Tips. ...Hope this helps you learn how to do your own acrylic nails. I strongly recommend Naio products!!Where to find me:www.twitter.com/happyamzywww.facebook.com/na...May 17, 2017 · In this video, I will show you how to make acrylic nail forms from home. This is an easy and fast way to make your own nail form.You Will Need:1. Foil2. Nail...Jul 20, 2021 · How to make acrylic extensions Step 1 – Find a well-proportioned shape for each finger. The shape should be slightly larger than the natural nail and touch the side ridges on both sides. Step 2 – Degrease your prepared nails and apply primer to them. Pour monomer into a glass and open a jar of acrylic powder.Feb 03, 2010 · To do acrylic nails, start by buying an acrylic nail kit from a beauty supply store and setting up a work space in a well-ventilated …Gently brush off any powder and excess adhesive from nail tips. Proceed to follow liquid acrylic kit directions by adding acrylic powder to acrylic liquid in the dappen dish, which should be included in the nail kit. Drop a small bead of mixture onto …
diy homemade acrylic nails is the perfect match for any nail job or nail salon. They all have their flaws, but you will never see these nails like you would with a DIY nail tool.
To get started with the tutorials below, please refer to the tutorial below for instructions and the tutorial below for basic nail tools and how to apply acrylic nails using just a tiny dab of acrylic paint.
Step 1. Preheat the oven to 250°C.
Step 2. Fill the acrylic paint applicator with acetone, which is fine to use.
Step 3. The paint applicator will be at the bottom of the plastic cup, so it will cover the inside edge and the inside edge of the acrylic spray bottle.
Step 4. Fill the applicator with acrylic paint to make a few circles.
Step 5. Press your nail into the plastic cup. You can use your index finger but I have found the nail applicator to be great instead.
Step 6. Apply your first nail polish, and then the second nail polish. Now check all the tips to see if there are any tiny scratches or small marks. You can see if there are any red marks on the nail stem. All of these tests should be repeated one or two times. For extra polish, I make a series of tiny holes on the base of the nail stem to see if there are any small holes. These holes are usually not too big but at least a


How to make your own acrylic nails at home?How to make your own acrylic nails at home?How do I do my own acrylic nails at home?How do I do my own acrylic nails at home?How to do acrylic nails at home for beginners?How to do acrylic nails at home for beginners?What do you need to do acrylic nails at home?What do you need to do acrylic nails at home?
DIY Homemade Water FilterDIY Homemade IncubatorDIY Homemade HarmonographDIY Homemade Cablecaster


Comments
Post a Comment