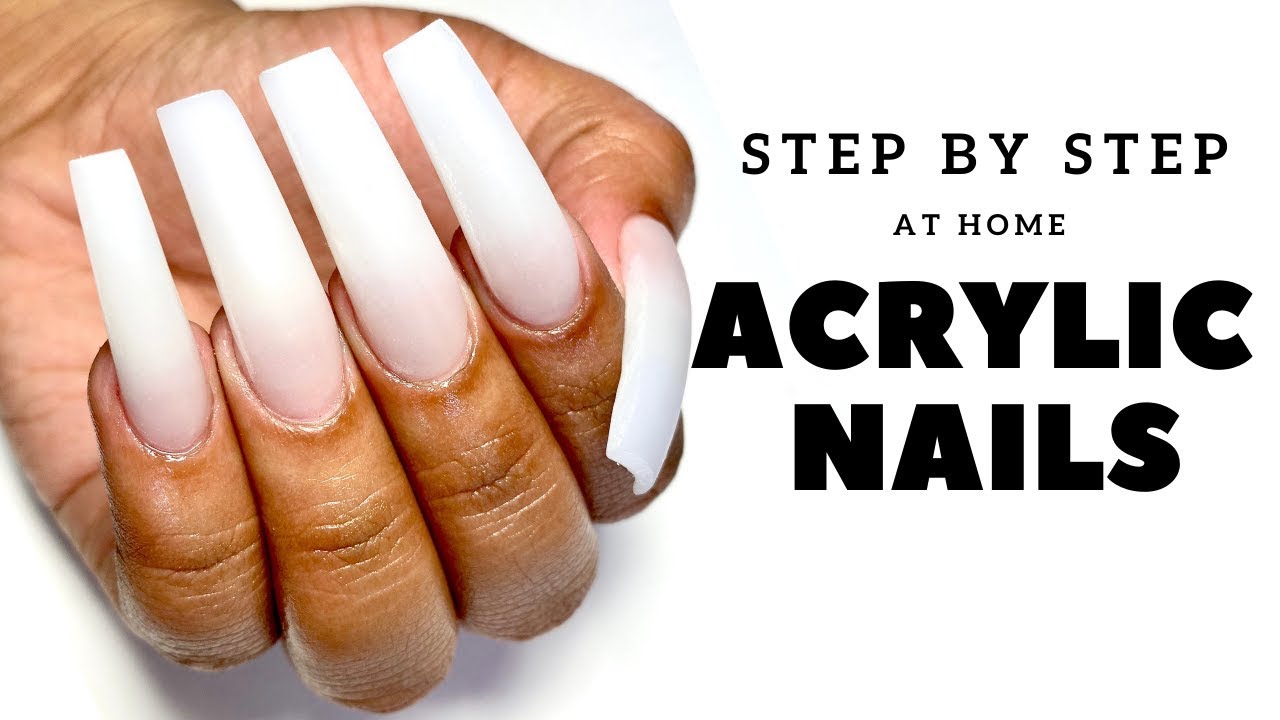
acrylic nail extensions step by step
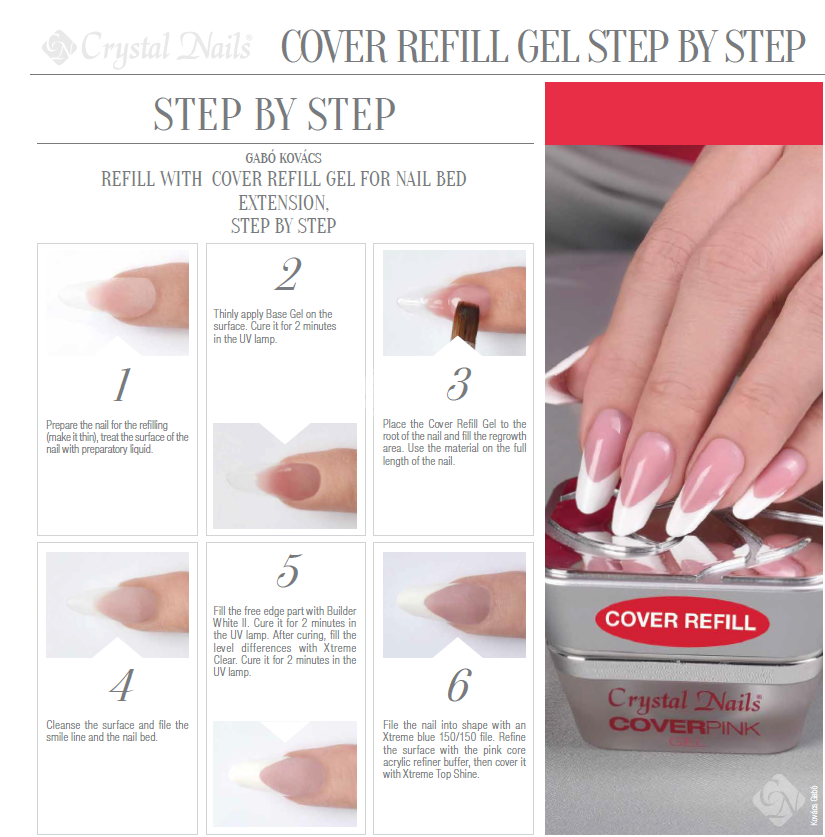
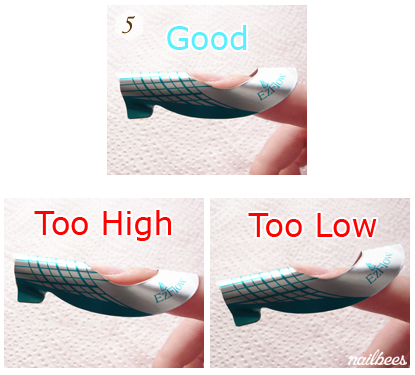
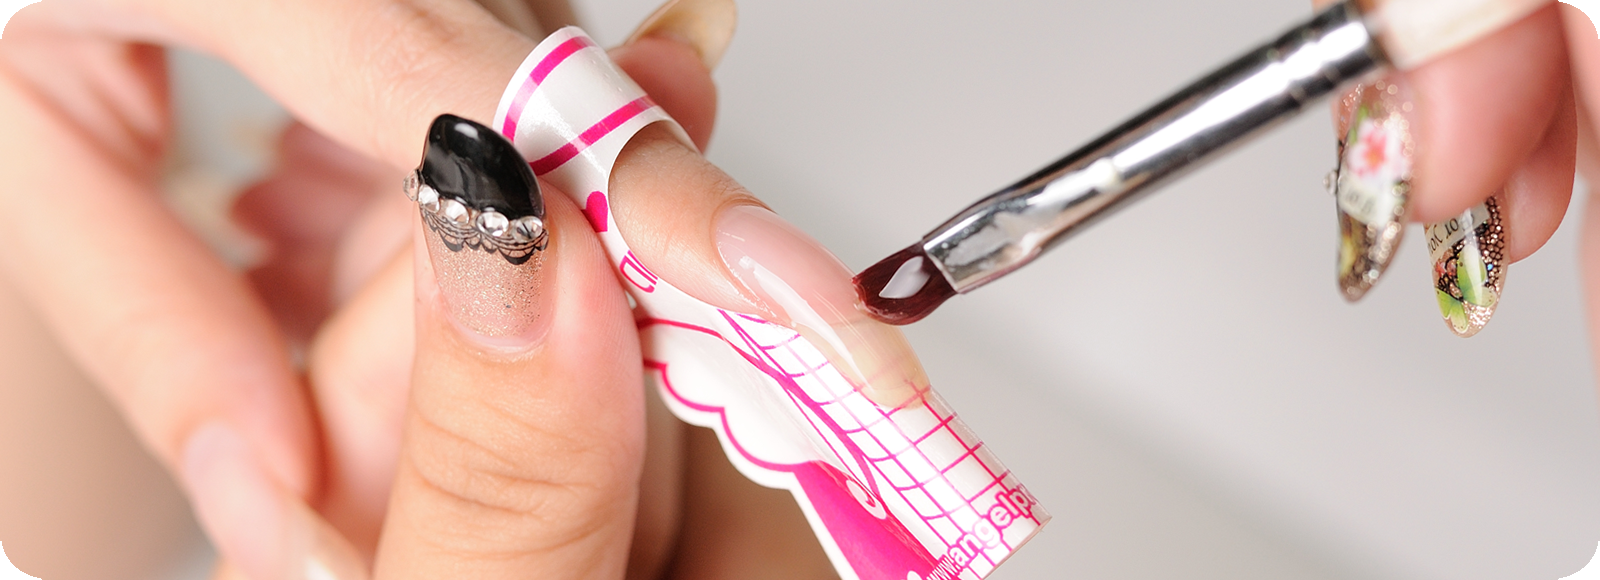
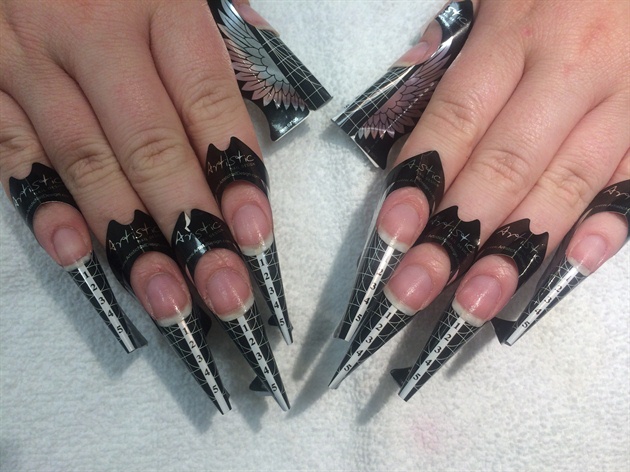
Oct 21, 2020 · Pushing back your cuticles makes room for the acrylic and tip allowing them blend seamlessly with your natural nails. Your goal here is to apply the acrylic right past your cuticles rather than on top of them. The cuticles should be gently pushed back far enough to make room for the acrylic to create the desired look.Acrylic Nail Extensions Procedure Prepare the natural nails by following Acrylic Nails Step 1 – Natural Nail Preparation Apply forms by following Acrylic Nails Step 2 – Forms & Mixtures. Pick a large ball of mixture and place it onto the free edge. Allow the mixture to get smooth. Tap the mixture to level it with the natural nail.Feb 03, 2010 · Start at the "smile line" - the bottom edge of the acrylic tip. Flatten the acrylic ball over the line and brush it down to the tip. Spread …
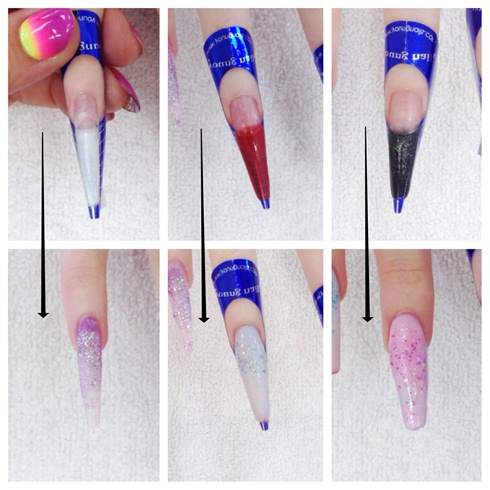
acrylic nail extensions step by step, adding a touch of colour if needed.
Step by step, adding a touch of colour if needed. Add some other nail colour if desired.
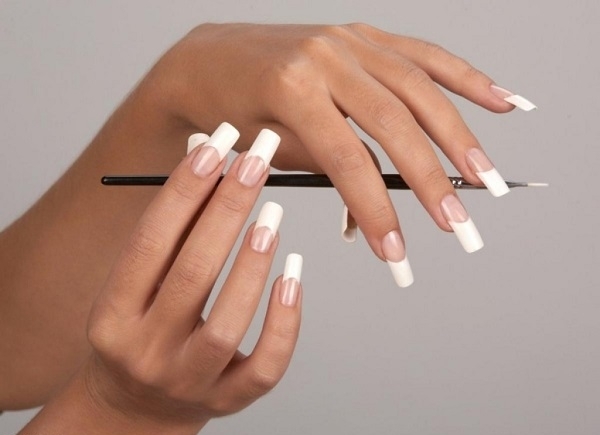
Here's a gallery of 5 classic nail extensions made with my acrylic nail polish. I use a base nail polish from Amazon for this tutorial, which looks like this. And a different base nail polish for this tutorial, a base polish to be specific.
Check out all my tutorials – no matter the colour!


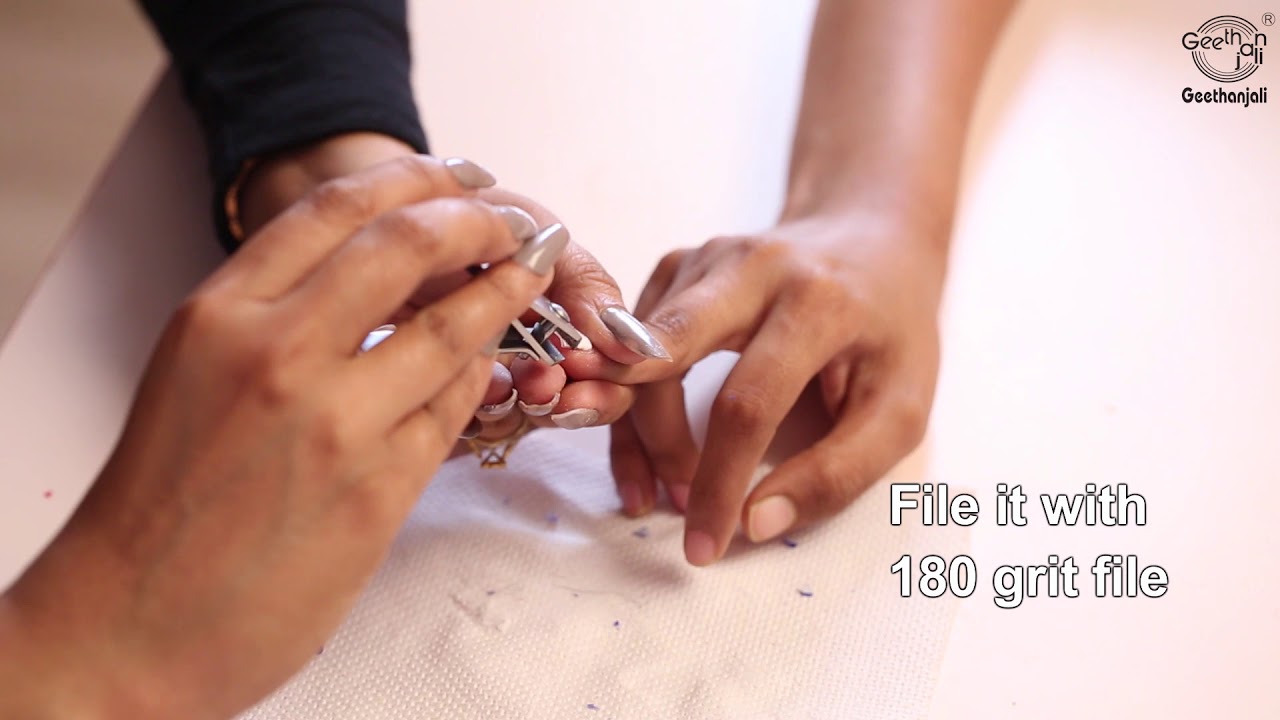


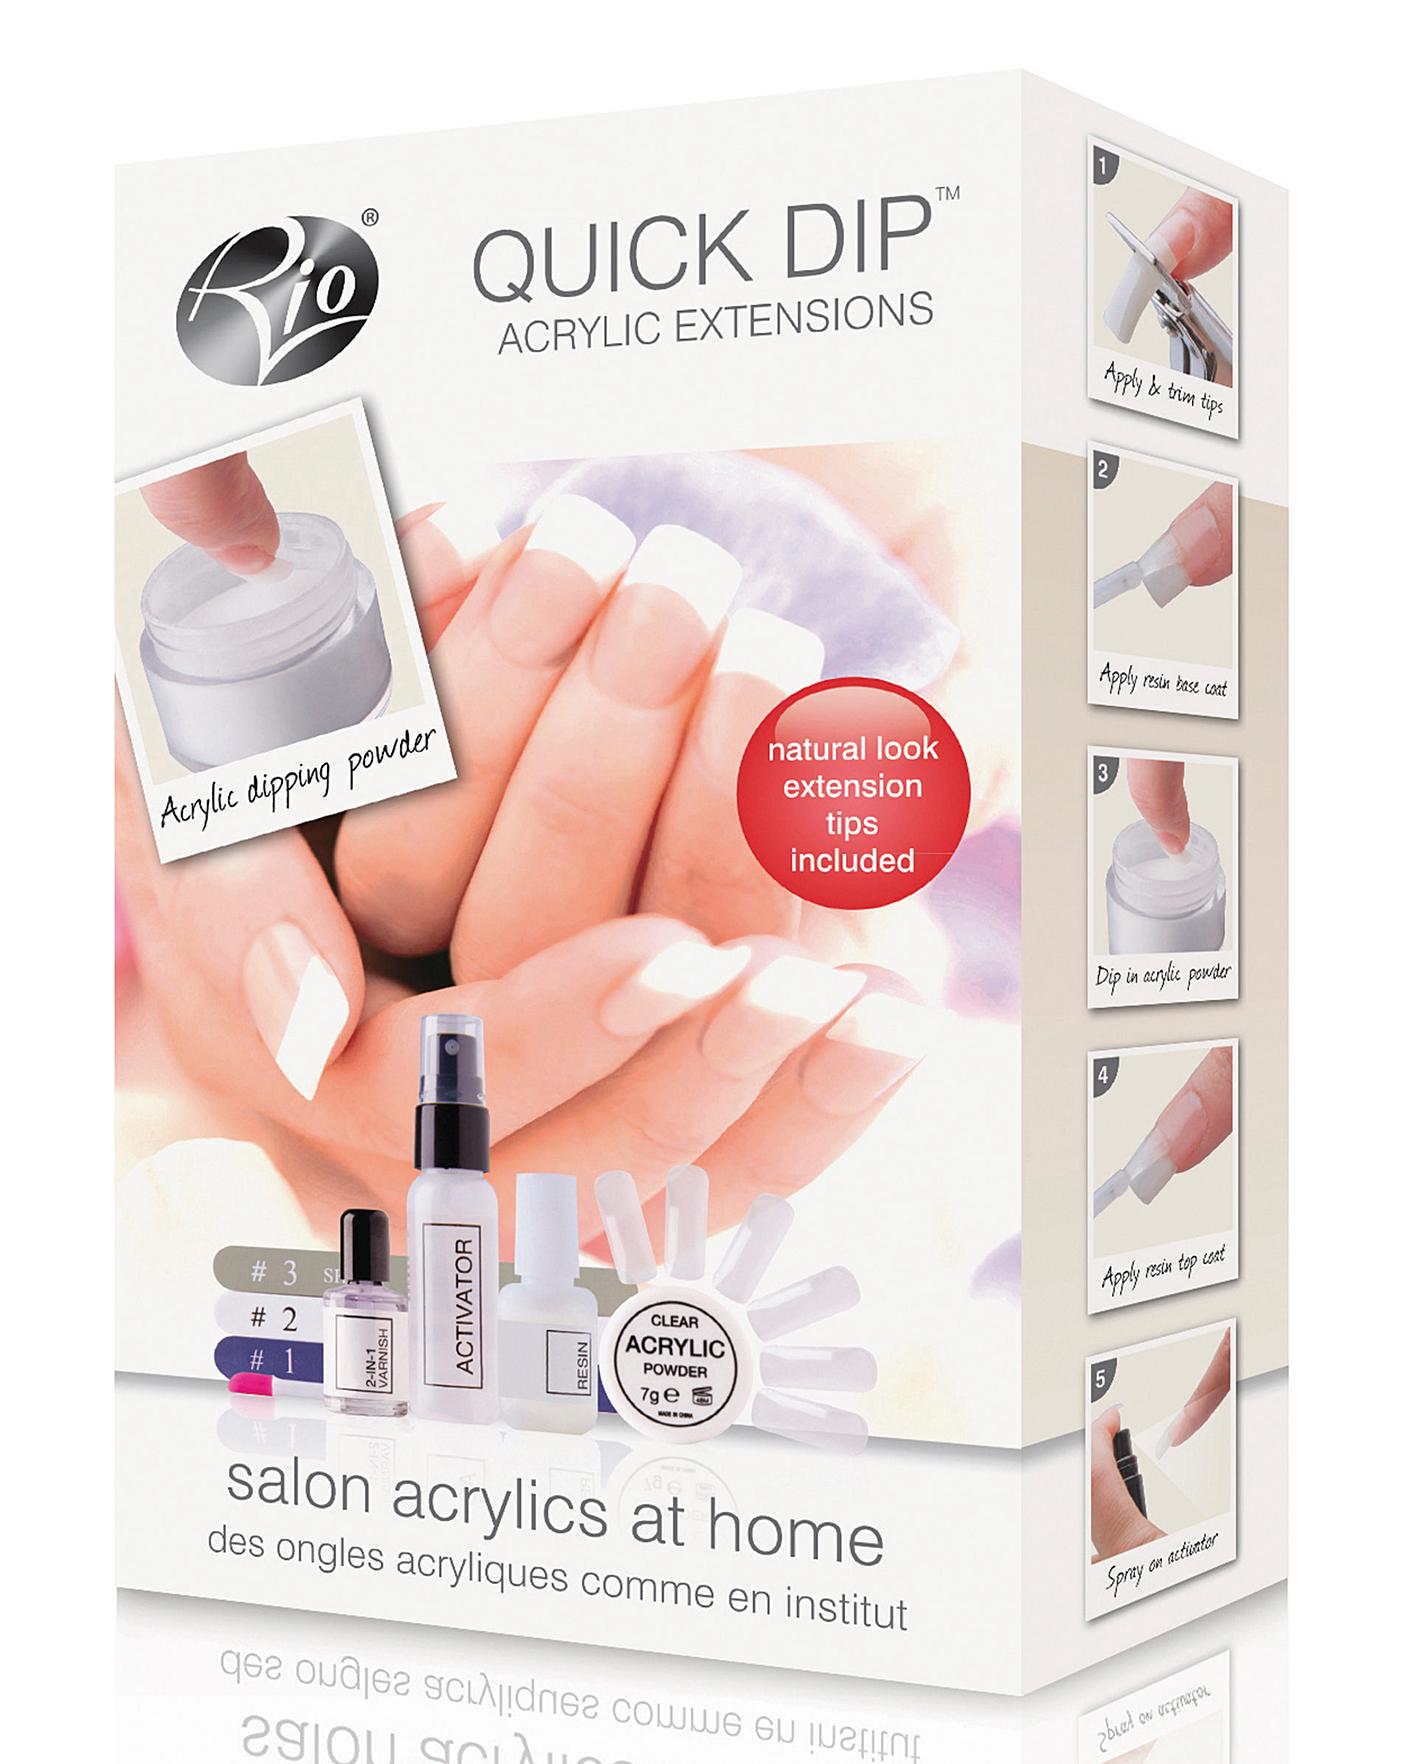

How to do acrylic nail extensions at home?How to do acrylic nail extensions at home?How do you apply acrylic nails step by step?How do you apply acrylic nails step by step?What are nail extensions?What are nail extensions?What do you use to file down acrylic nails?What do you use to file down acrylic nails?
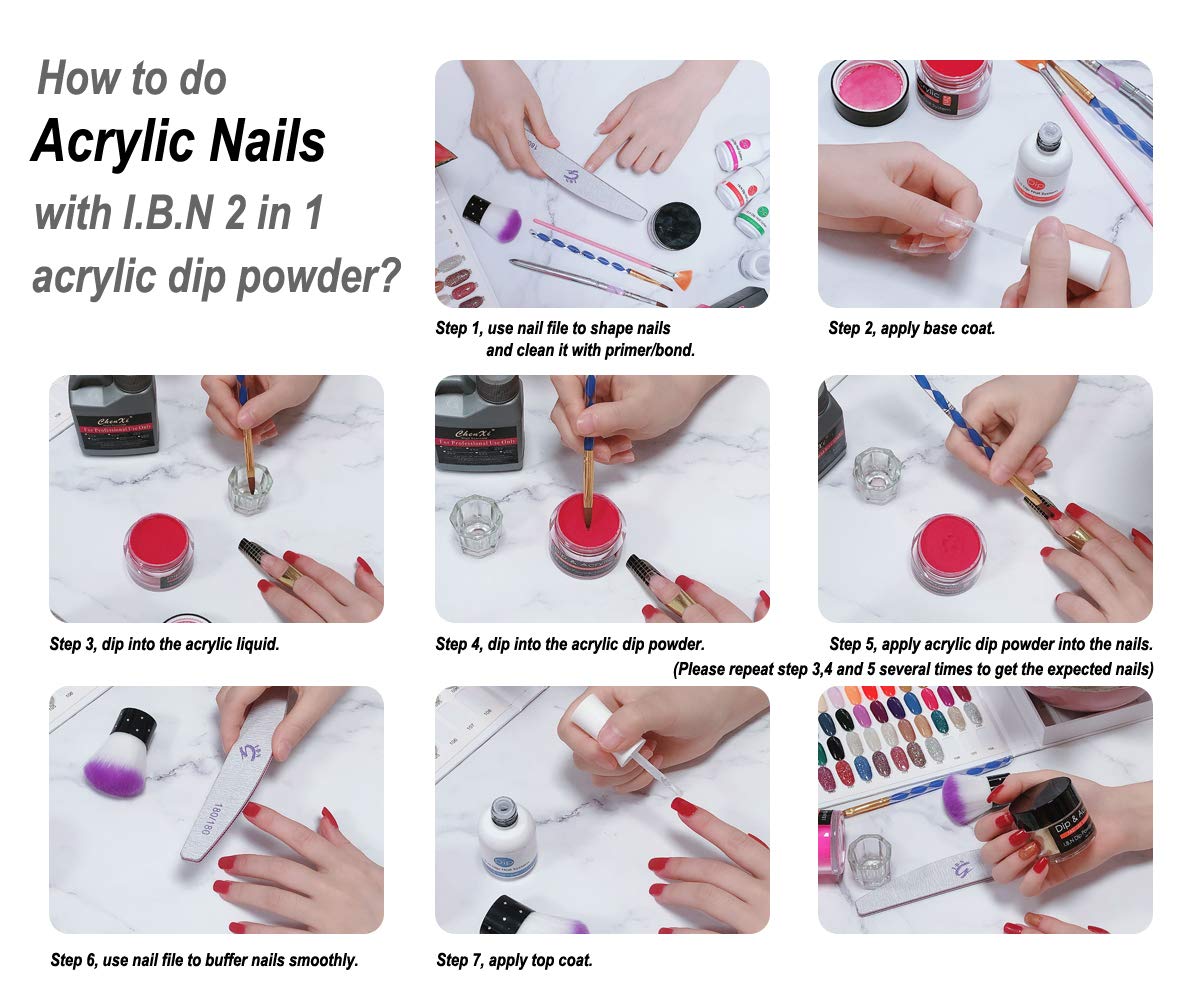
Steps to Applying Acrylic NailsSteps to Putting On Acrylic NailsAcrylic Nail Shape How to StepSteps On How to Apply Acrylic NailsAcrylic Nail Application for Beginners StepSteps to Doing a Great Acrylic NailsSteps On How to Prep Acrylic Nails


Comments
Post a Comment